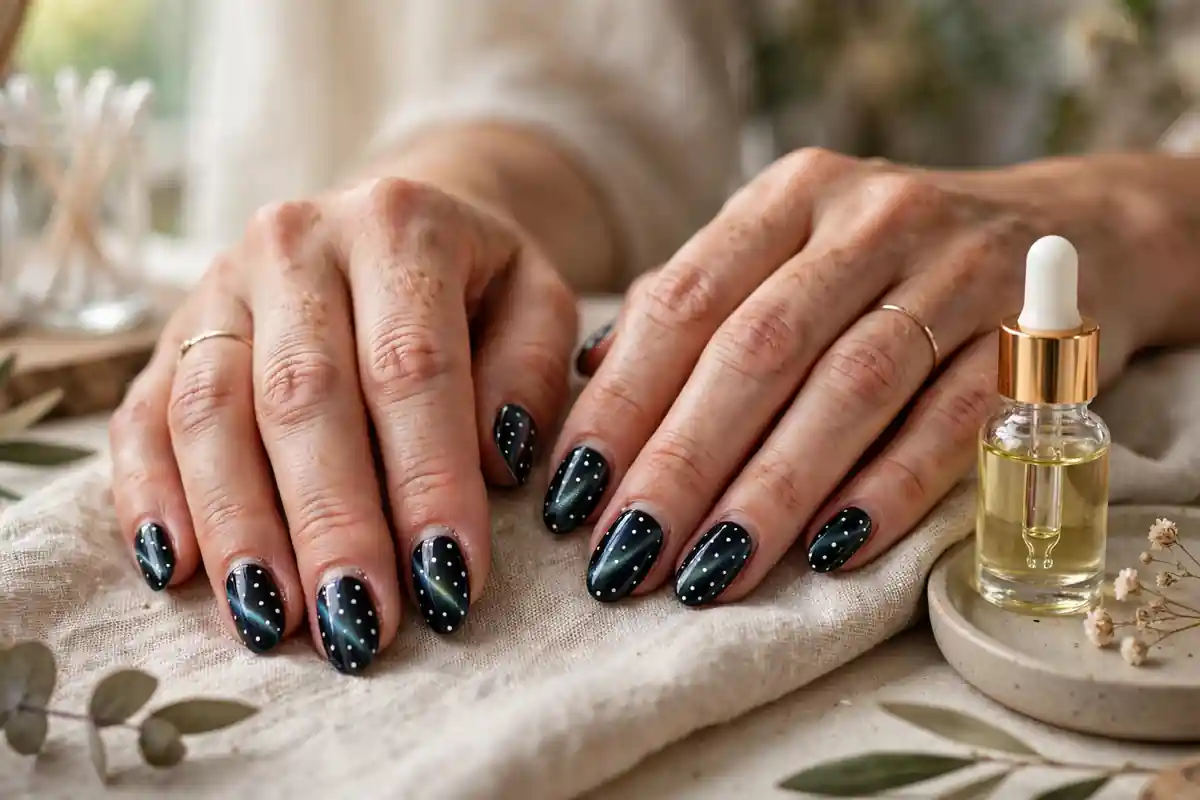
If one manicure owns this fall, it is polka dot cat eye nails. Searches for the look jumped 1,585% in Pinterest’s October 2026 Beauty Trend Report — the fastest-rising nail search of the season — and one look at that velvet, light-shifting shine scattered with dots shows why. Cat eye polish gives depth flat colour…
If one manicure owns this fall, it is polka dot cat eye nails. Searches for the look jumped 1,585% in Pinterest’s October 2026 Beauty Trend Report — the fastest-rising nail search of the season — and one look at that velvet, light-shifting shine scattered with dots shows why. Cat eye polish gives depth flat colour can’t; the dots keep it fun, not formal. And you can do it at home with one magnetic polish, a magnet and a dotting tool. Below: the method, 18 designs, pairings that never fail, a Halloween dark edit, and shine-saving tricks.
What Are Polka Dot Cat Eye Nails?
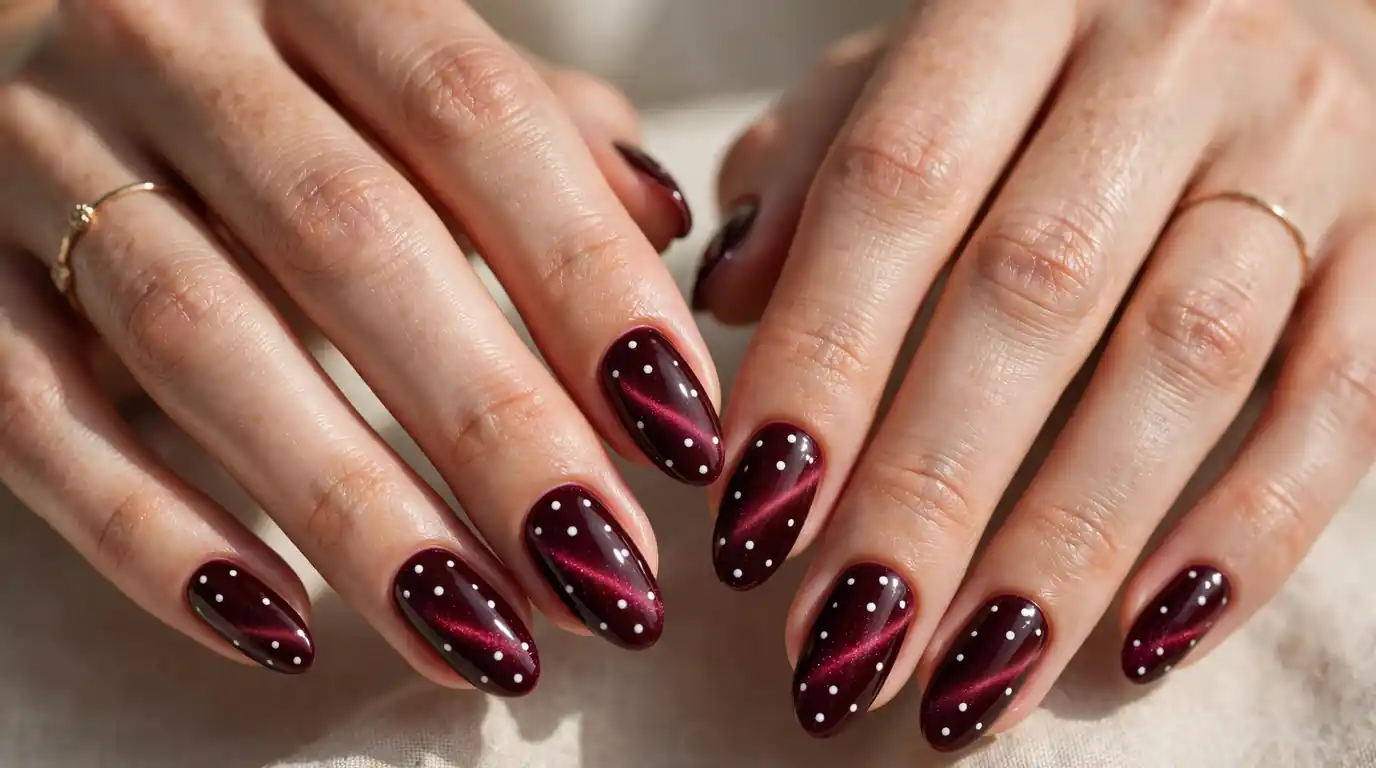
Cat eye nails use magnetic gel polish. The polish holds tiny metallic particles; hover a magnet over the wet layer and the particles gather into a glowing band of light — like the slit of a cat’s eye, or a soft velvet glow if you angle the magnet differently.
Polka dot cat eye nails add one twist: neat dots scattered over that magnetic base. Dots can match, contrast or shimmer in gold, turning a glamorous finish playful. And because the base has so much depth, even beginner dots look like salon work.
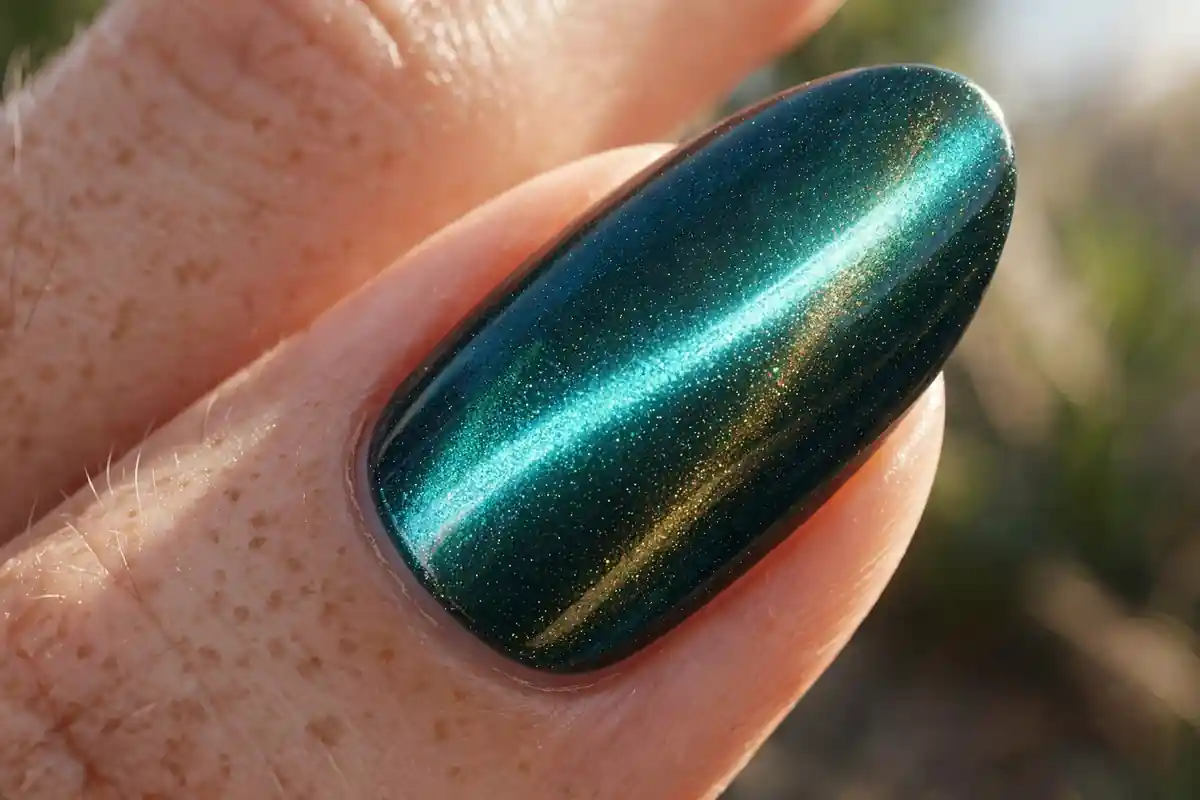
You need gel polish, since the layer must stay workable until cured, and the design suits every length: short nails get a jewel-like glow; almond and coffin shapes get the dramatic, elongated band.
What You Need: Magnetic Polish, Magnets and Dot Tools
You do not need a professional kit — just these basics, most of which you may already own:
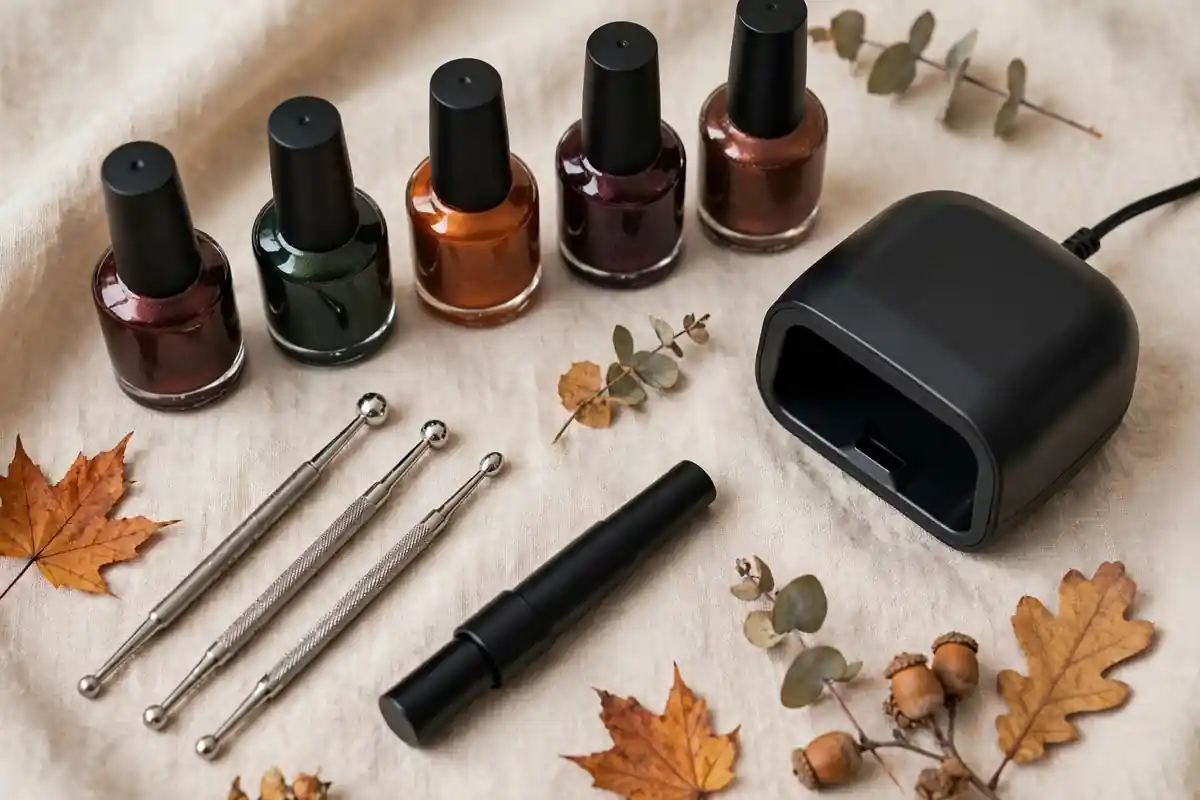
- Magnetic cat eye gel polish — one shade is enough to start; deeper shades show the effect best.
- A cat eye magnet — most polishes include a wand; a rectangular magnet gives a crisper line.
- Base coat and a glossy top coat — gel versions, cured under the lamp.
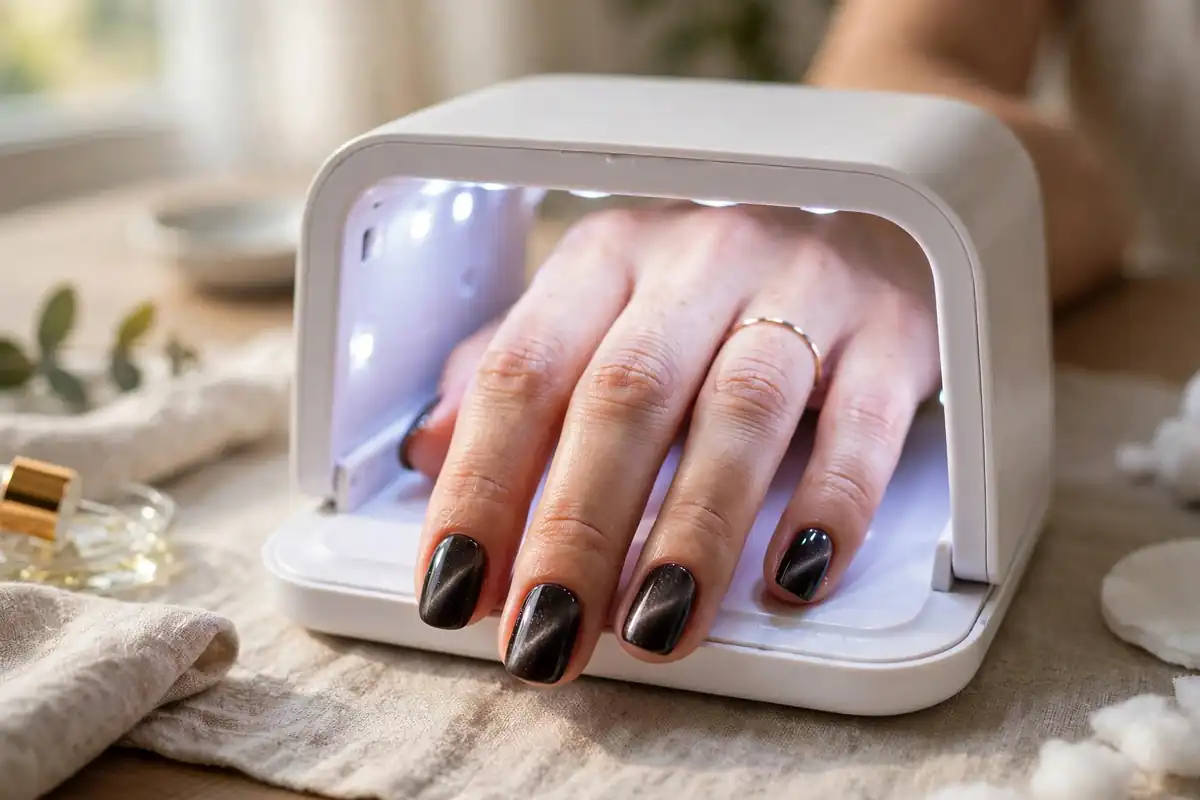
- A UV or LED lamp — essential: each magnetic layer must be cured while the pattern is fresh.
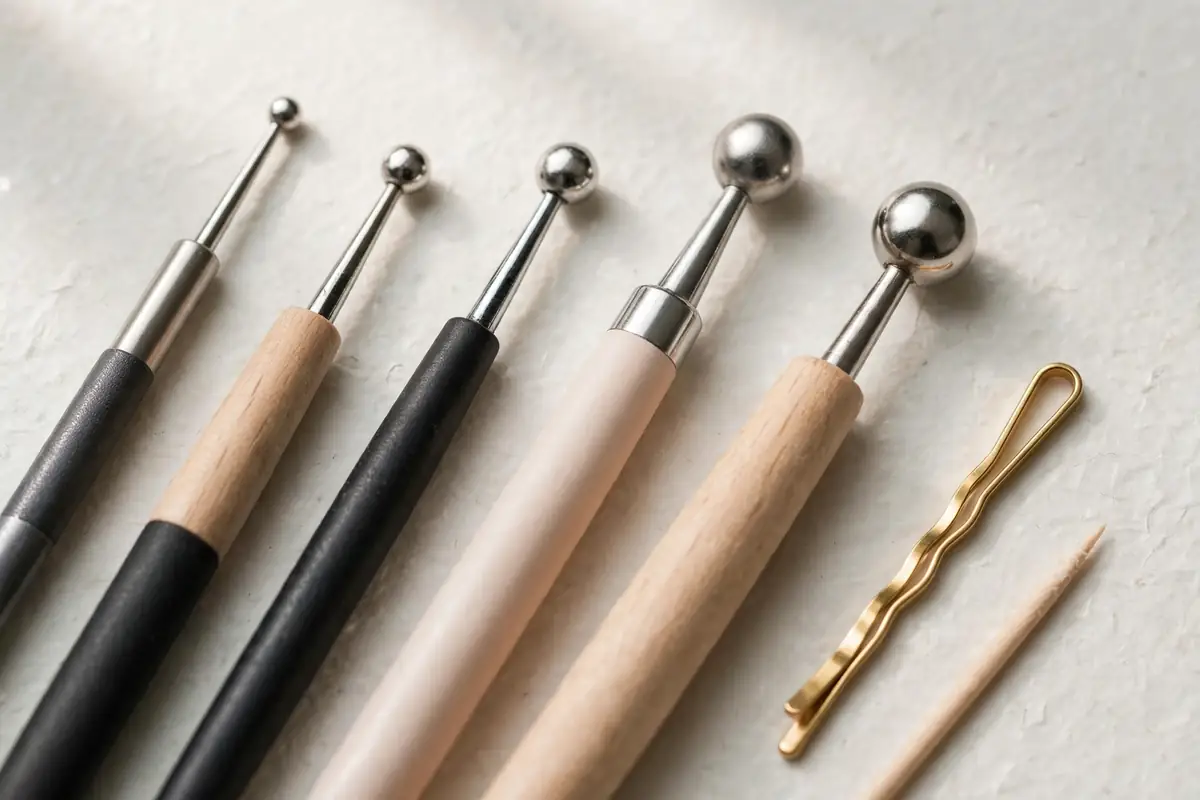
- Dotting tools — different ball sizes are ideal; a bobby pin or toothpick works too.
- A second polish for the dots — crème, metallic gold or silver, or a contrasting cat eye shade.
- Nail prep basics — file, buffer, cuticle pusher and lint-free wipes with cleanser.
Step by Step: The Cat Eye Base With a Magnet
The base is where the magic happens — work one nail at a time. Uncured gel is patient; the magnet effect sets in seconds.
- Prep properly. Shape, push back cuticles, buff lightly and wipe with cleanser — magnetic polish shows every bump.
- Apply base coat and cure following your lamp’s timing.
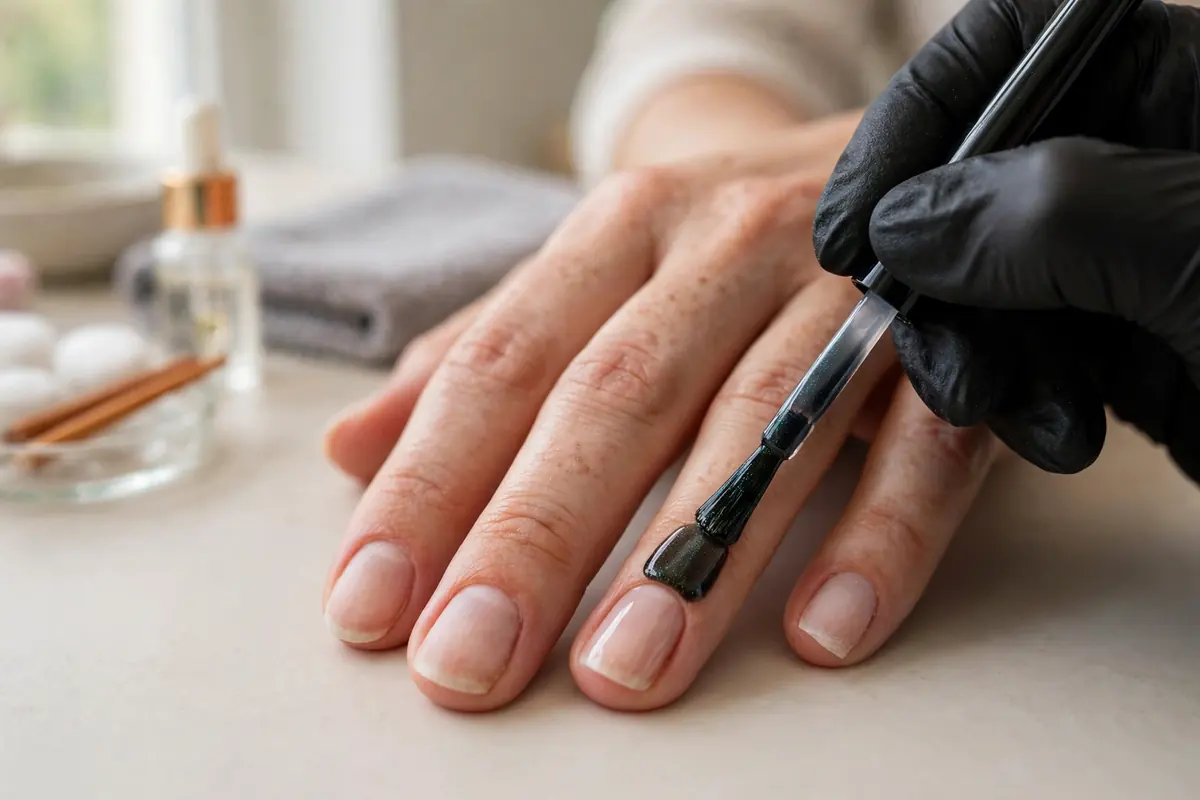
- First coat of cat eye polish. Thin, even layer on all five nails, then cure — no magnet yet; this is your colour foundation.
- Second coat, one nail at a time. Paint one nail, then hold the magnet 2–3 mm above it — never touching the wet gel.
- Shape the light. Straight along the nail for a classic line, diagonal for a softer sweep, arced around the edges for velvet. Hold still 5–10 seconds.
- Cure straight away to freeze the pattern, then repeat on the next nail.
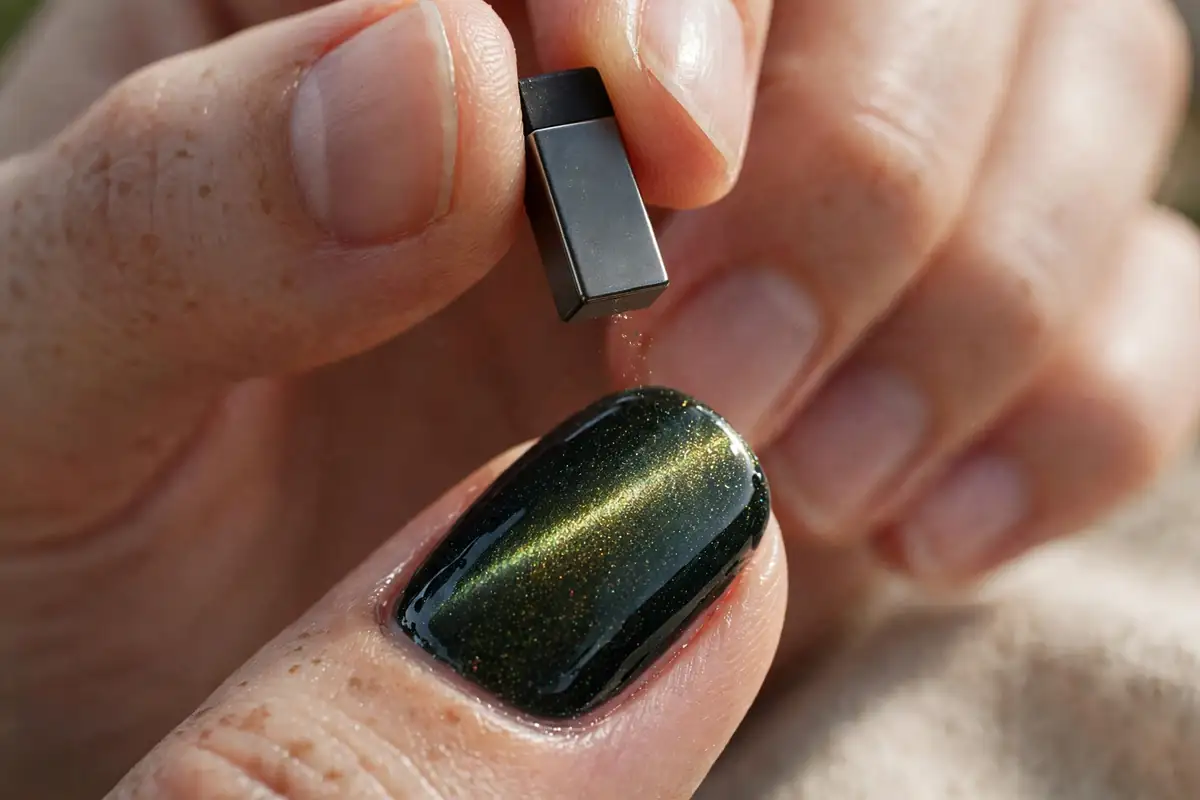
Your first nail is practice — by the third, your hand knows how close to hover.
Step by Step: Adding Perfect Polka Dots
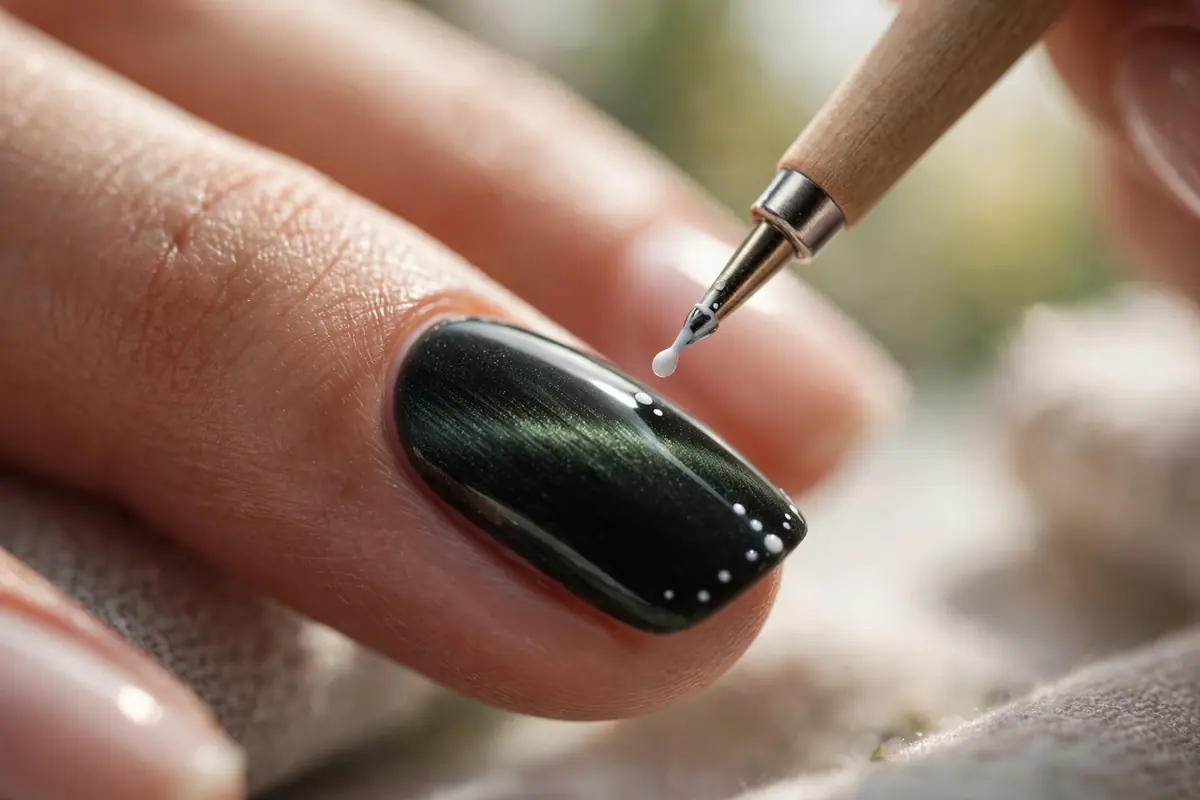
With the base cured, dots are the easy part. The secret is a barely-there amount of polish on the tool — dots go wrong when overloaded, not when small.
- Choose your dot colour. High contrast reads from a distance (white or gold on dark); tonal dots look expensive.
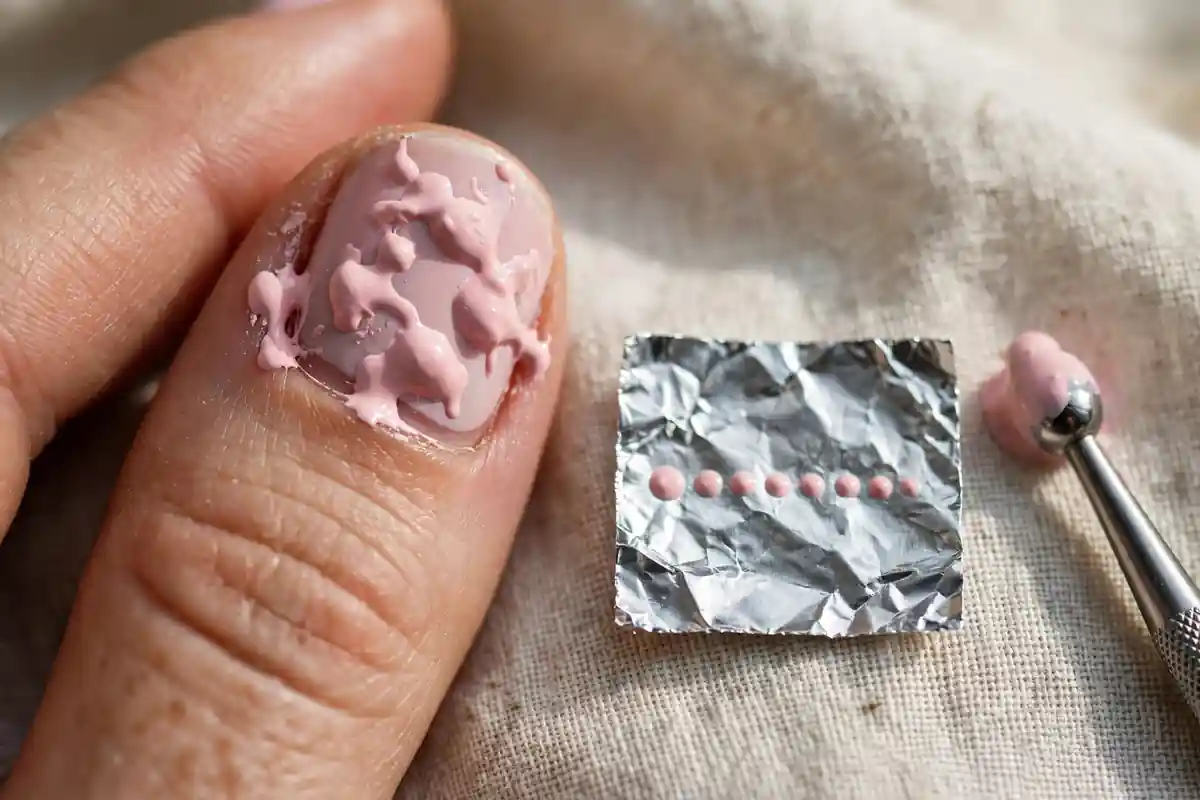
- Load the tool lightly. Dip just the tip, then touch once on foil — the first blob is always too big.
- Touch and lift straight up. Press gently, lift vertically; harder pressure makes bigger dots, so keep pressure even.
- Work in a pattern — diagonal scatter, neat rows, or dots near the tip. Random works too, if you vary sizes on purpose.
- Reload every one or two dots so each dot is the same strength of colour.
- Cure, then seal with a glossy top coat and cure again — it melts everything into one glassy surface.
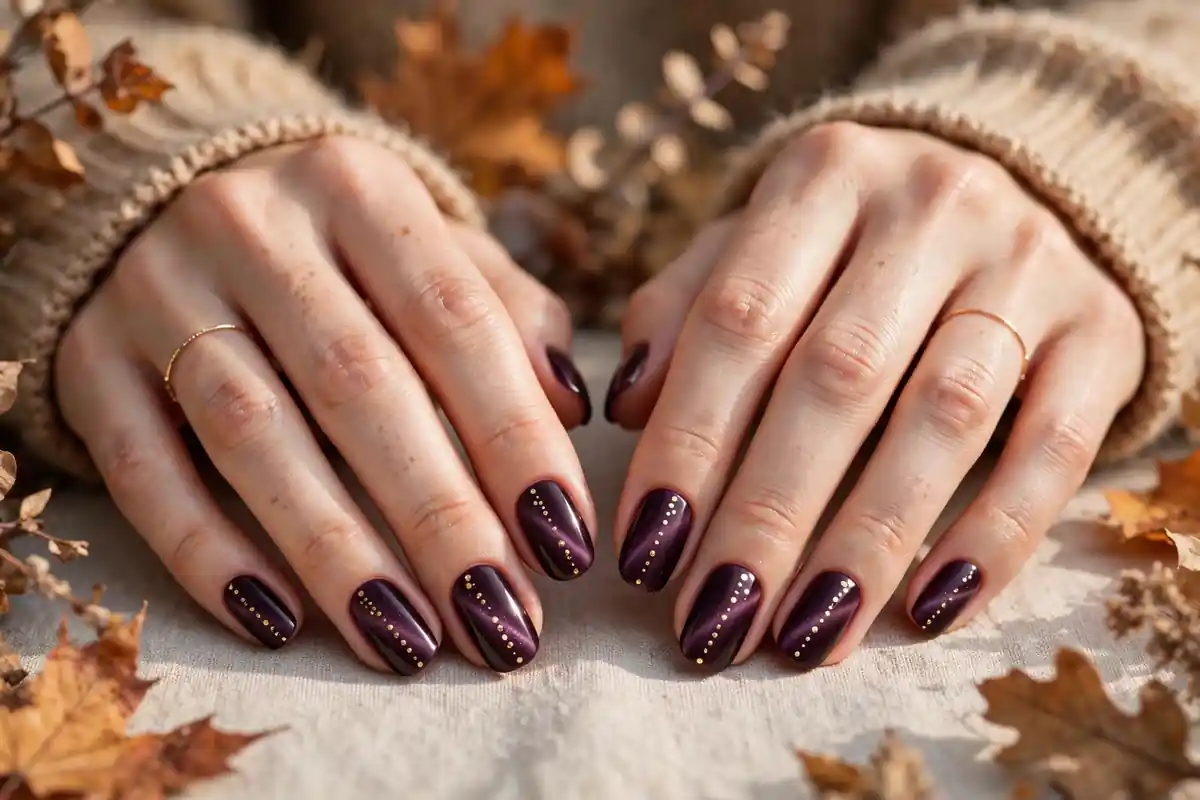
A wonky dot? Wipe it off before curing — gel is only permanent under the lamp, so every nail has unlimited undo buttons.
6 Classic Colour Pairings That Always Work
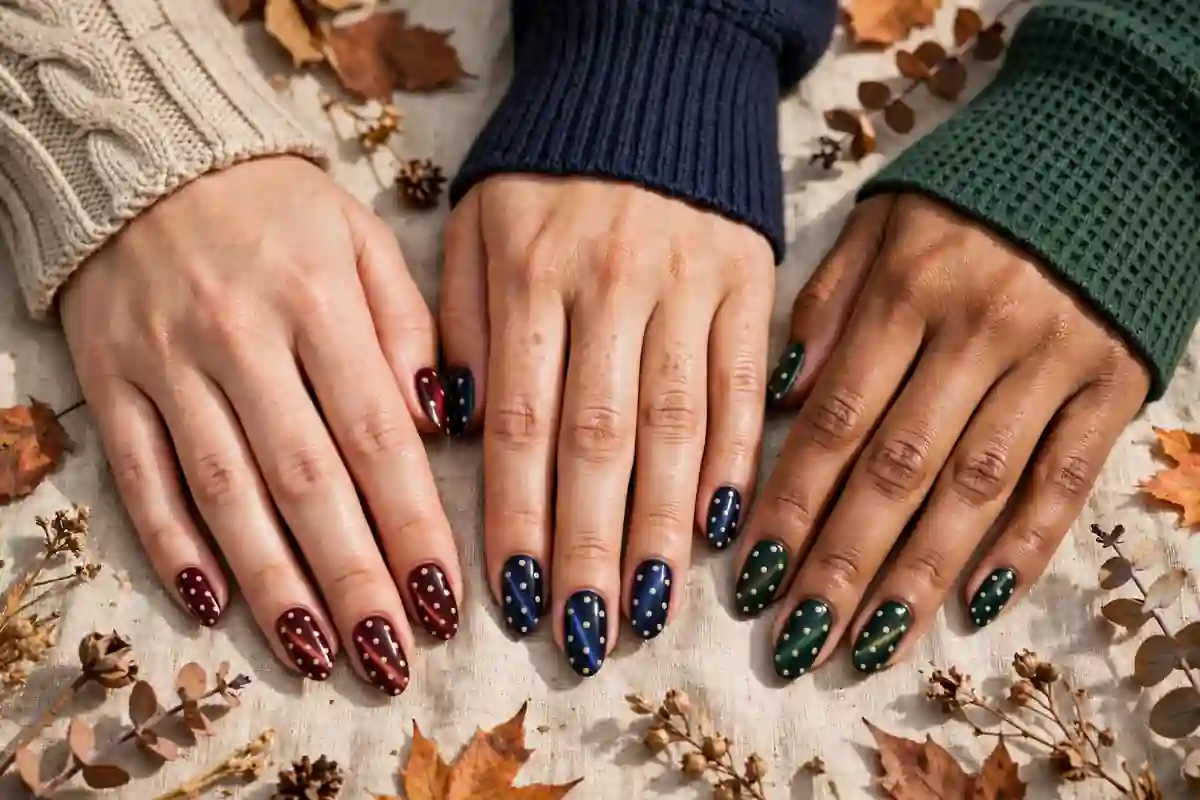
Half the impact is the pairing. These six photograph beautifully and suit the fall wardrobe.
1. Burgundy base + gold dots
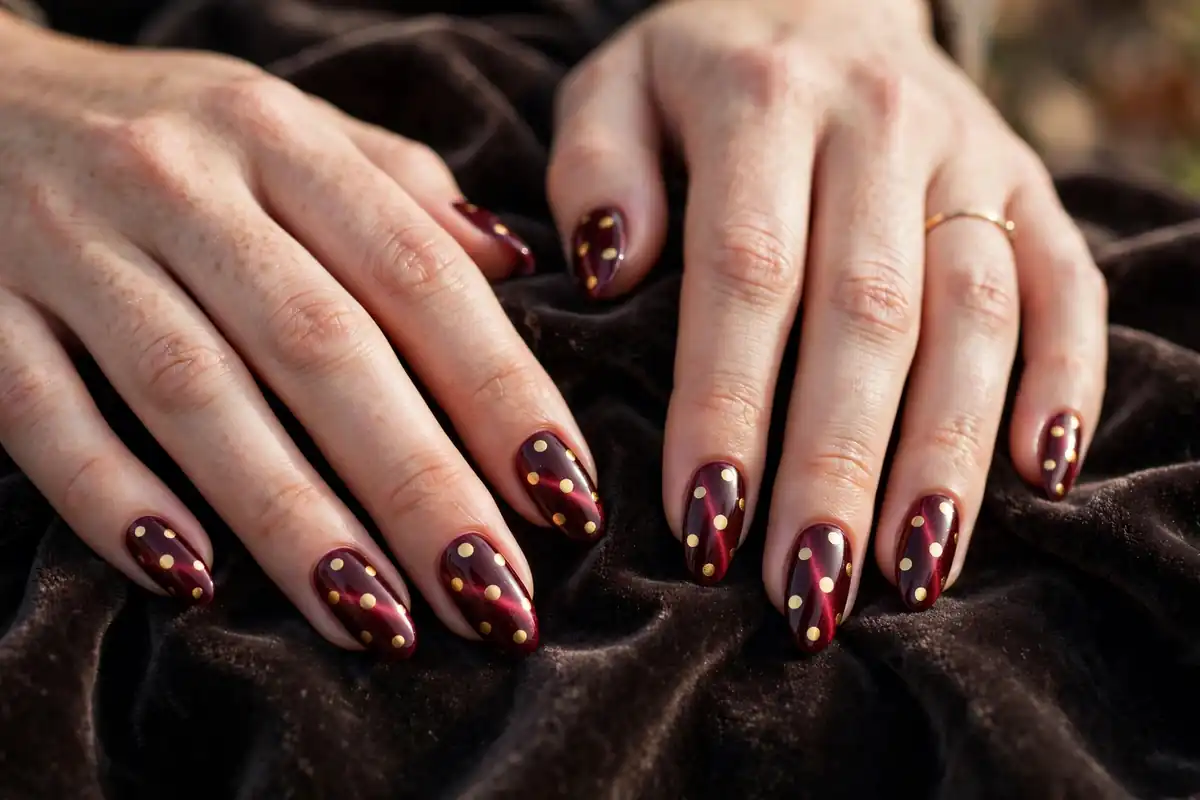
The richest of the season: a deep wine base glows like velvet, and fine gold dots make it read like jewellery.
2. Chocolate brown base + cream dots

Warm and cosy: cream dots on chocolate look like latte art, and café shades are trending hard.
3. Forest green base + gold dots
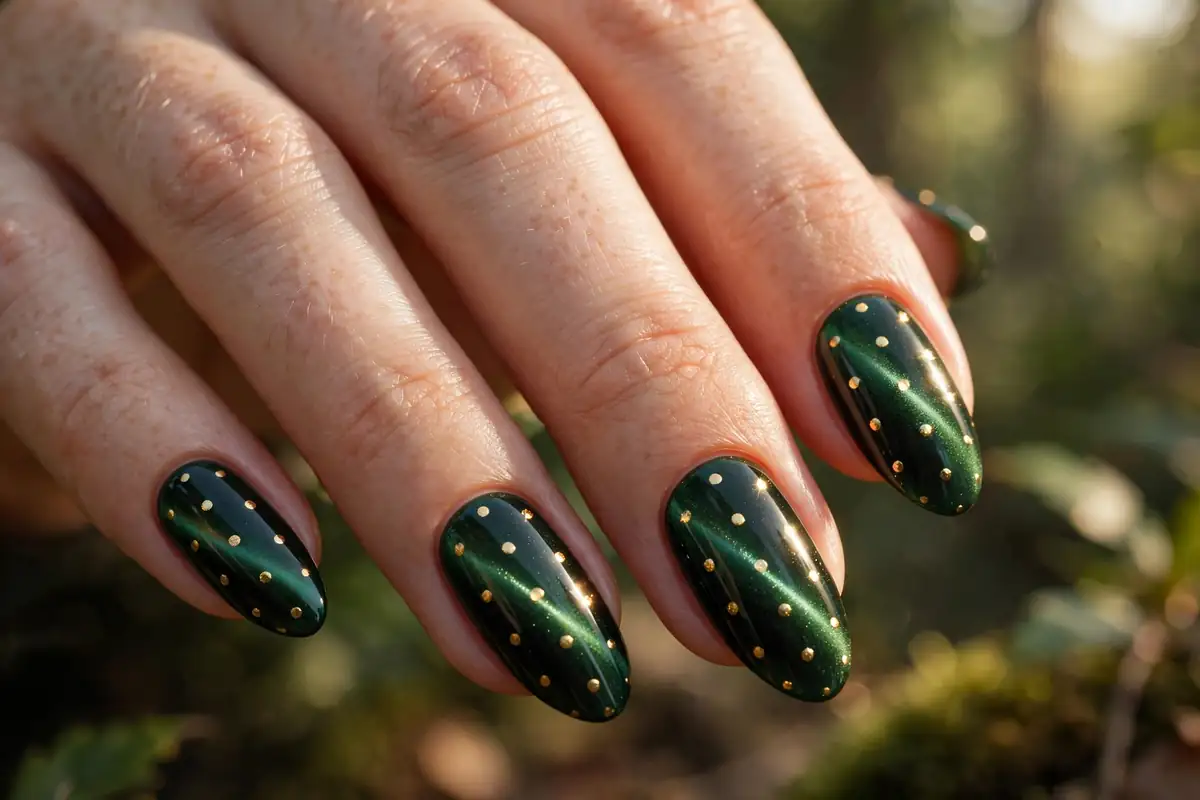
An underrated gem: the green shifts almost black in low light, then flashes emerald, kept festive by gold dots.
4. Navy base + silver dots
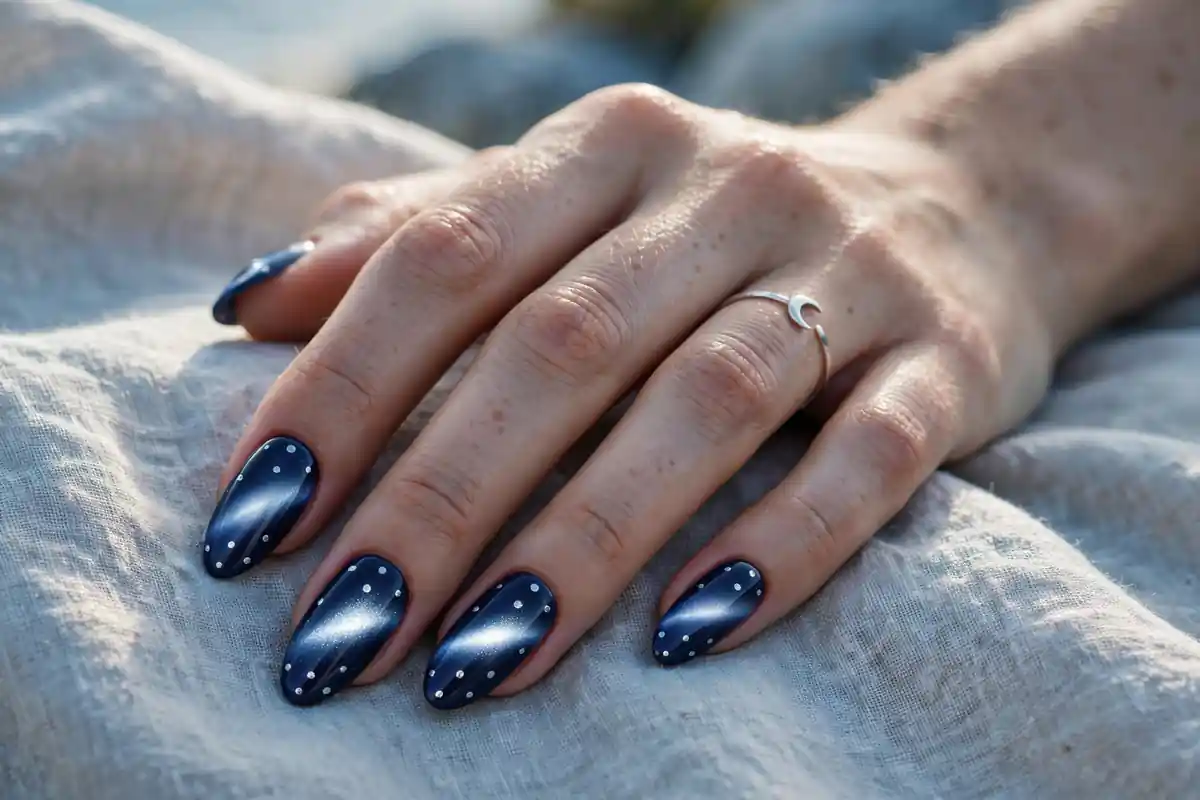
Cool and crisp: the navy band looks like moonlight on water, echoed by silver dots.
5. Plum base + rose-gold dots
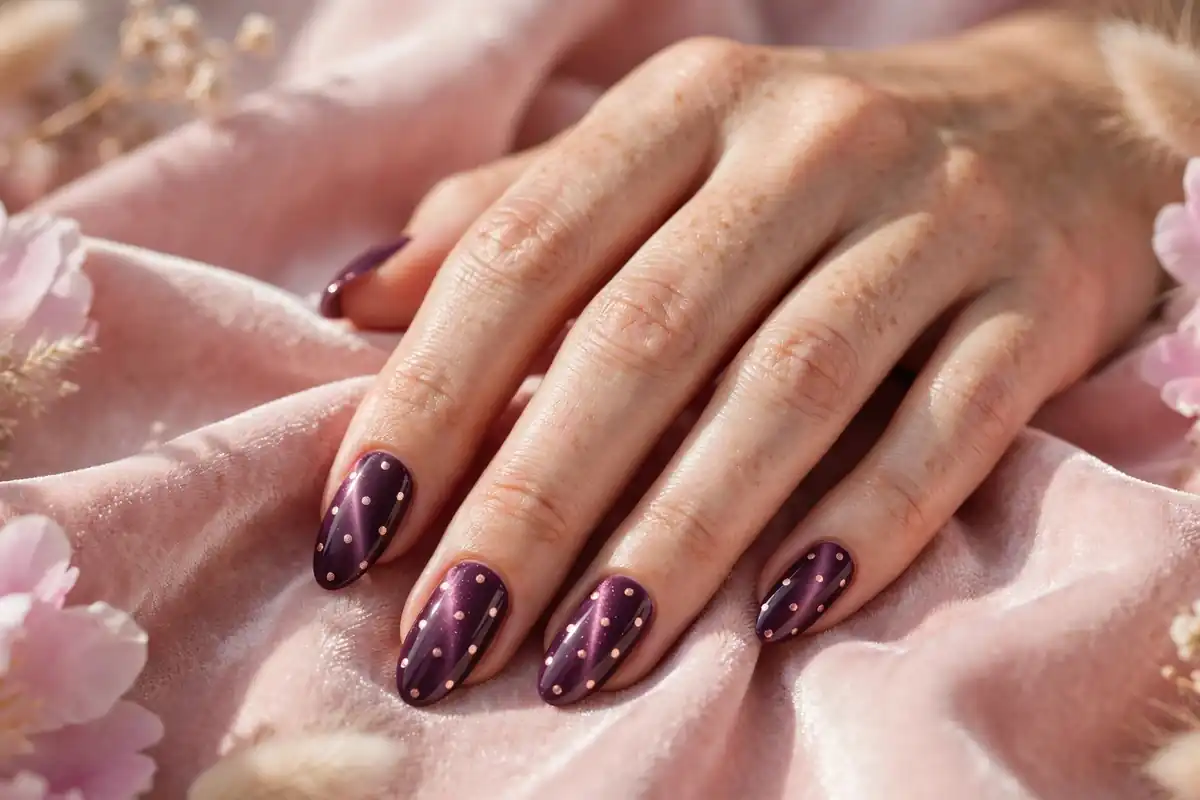
The soft-glam option: plum’s purple-red depth with warm rose gold feels romantic, not bold.
6. Black base + white dots
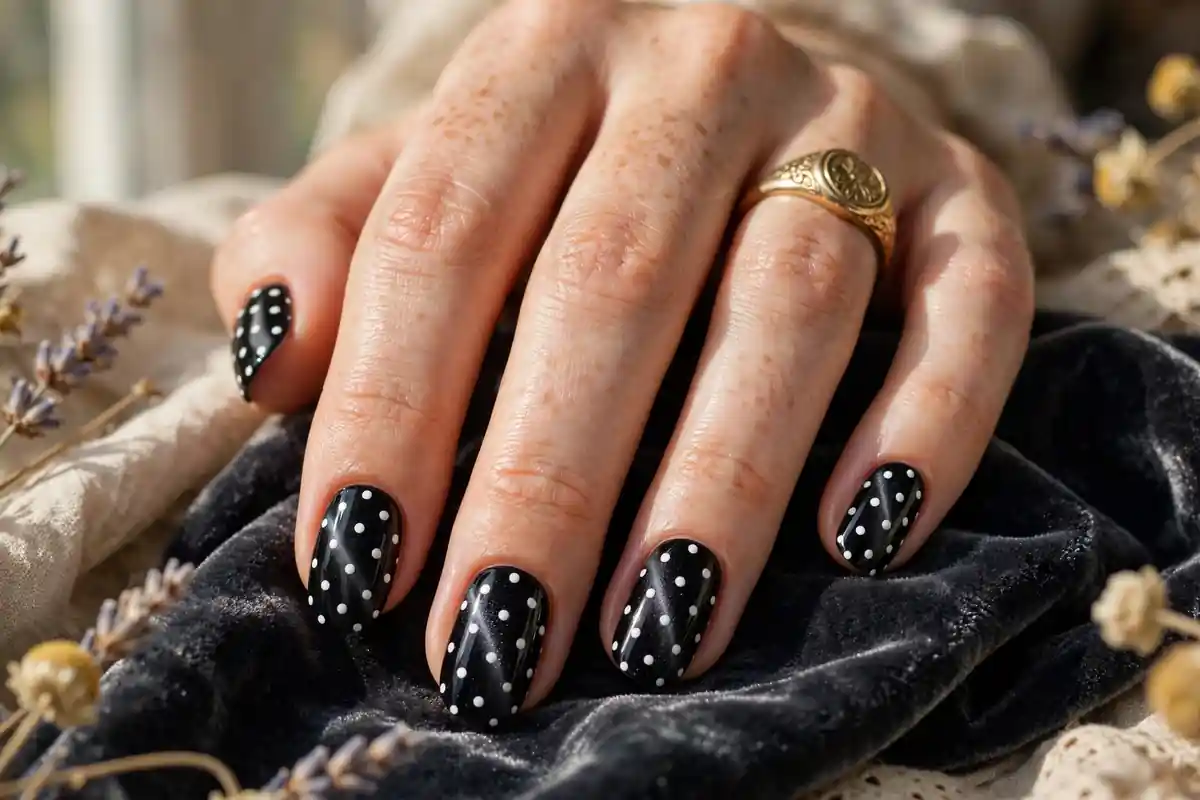
The graphic classic: maximum contrast, a vintage nod, and the easiest to keep neat.
Dark and Goth Polka Dot Cat Eye Nails for Halloween
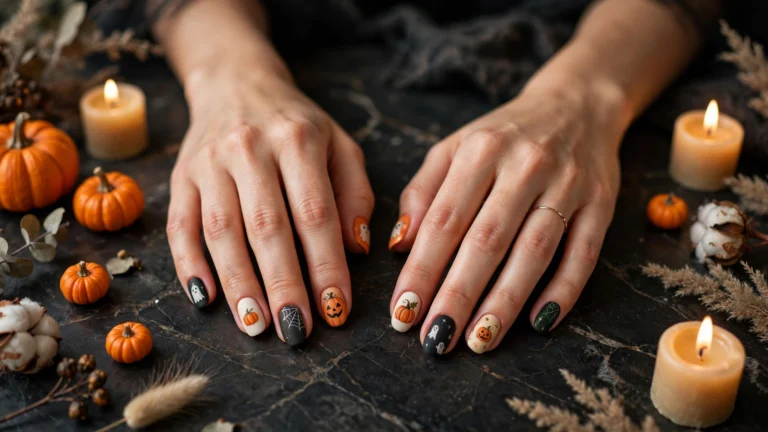
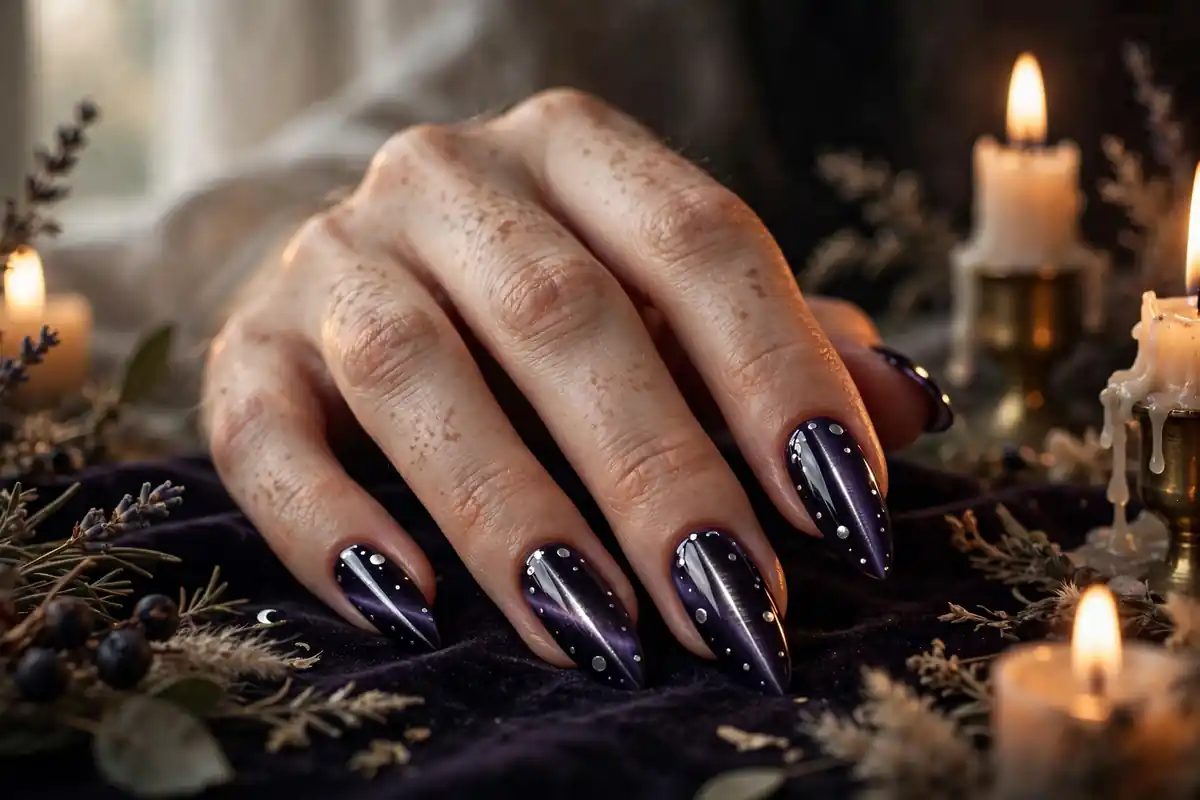
Halloween is eleven days away, and the dark end of this trend is surging — goth cat eye searches up 911%, dark red designs up 735%:
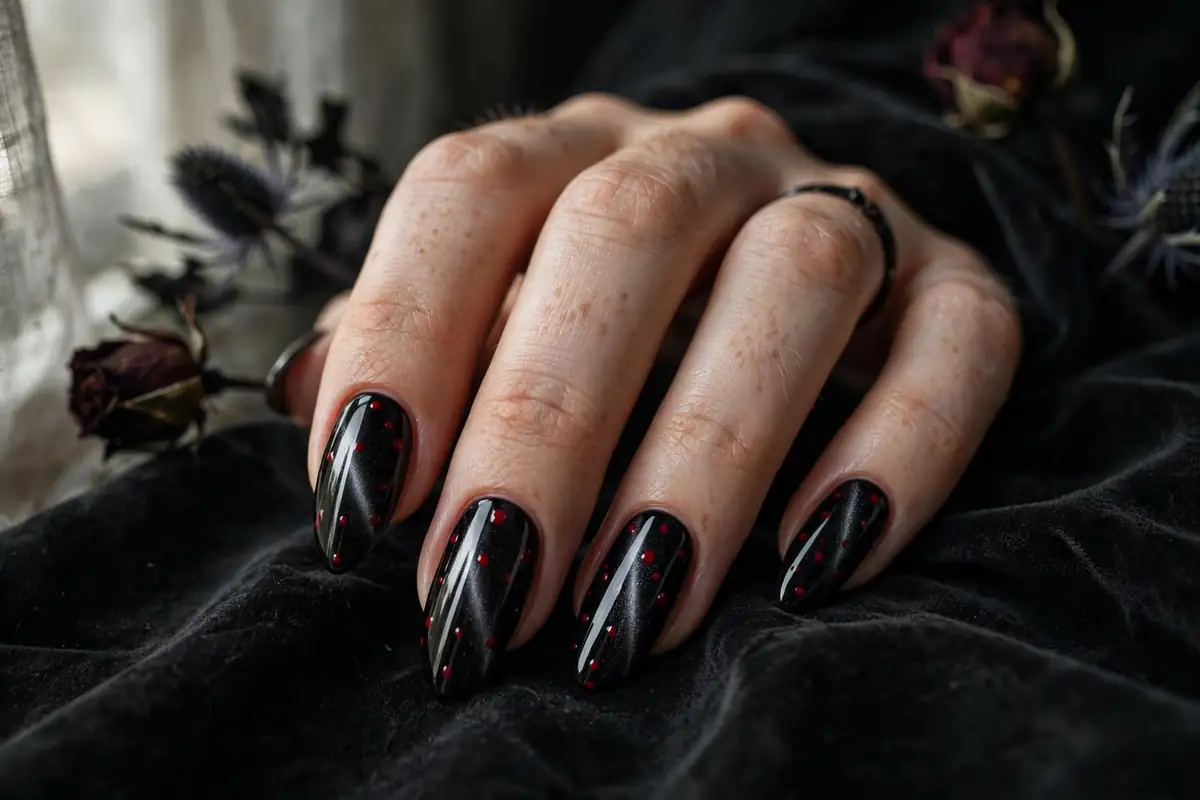
- Black base, blood-red dots. The goth signature — pull a sharp central line so the black looks like polished onyx.
- Oxblood base, black dots. Dark red with jet dots: softer than black, just as moody.
- Midnight purple base, silver dots. Witchy and elegant — the silver reads like tiny moons.
- One accent nail. Nine nails clean dark cat eye; one ring finger gets oversized dots, or reversed colours.
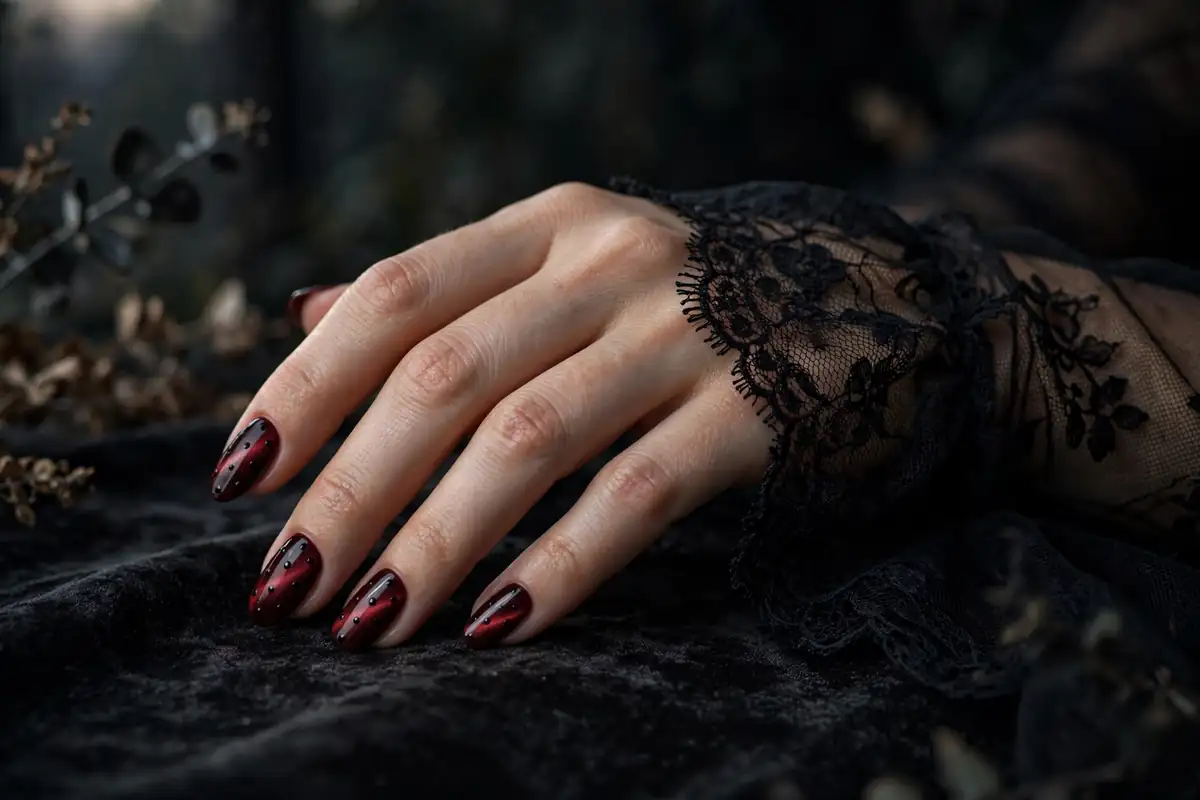
Costume planned? These shades love velvet, lace and satin — and if chrome is more your mood, our Thanksgiving chrome nail designs guide covers the mirror-shine alternative.
Short-Nail and Almond Versions That Flatter Every Hand
Long, dramatic photos aside, this design is genuinely length-friendly — just scale the pattern to the canvas.
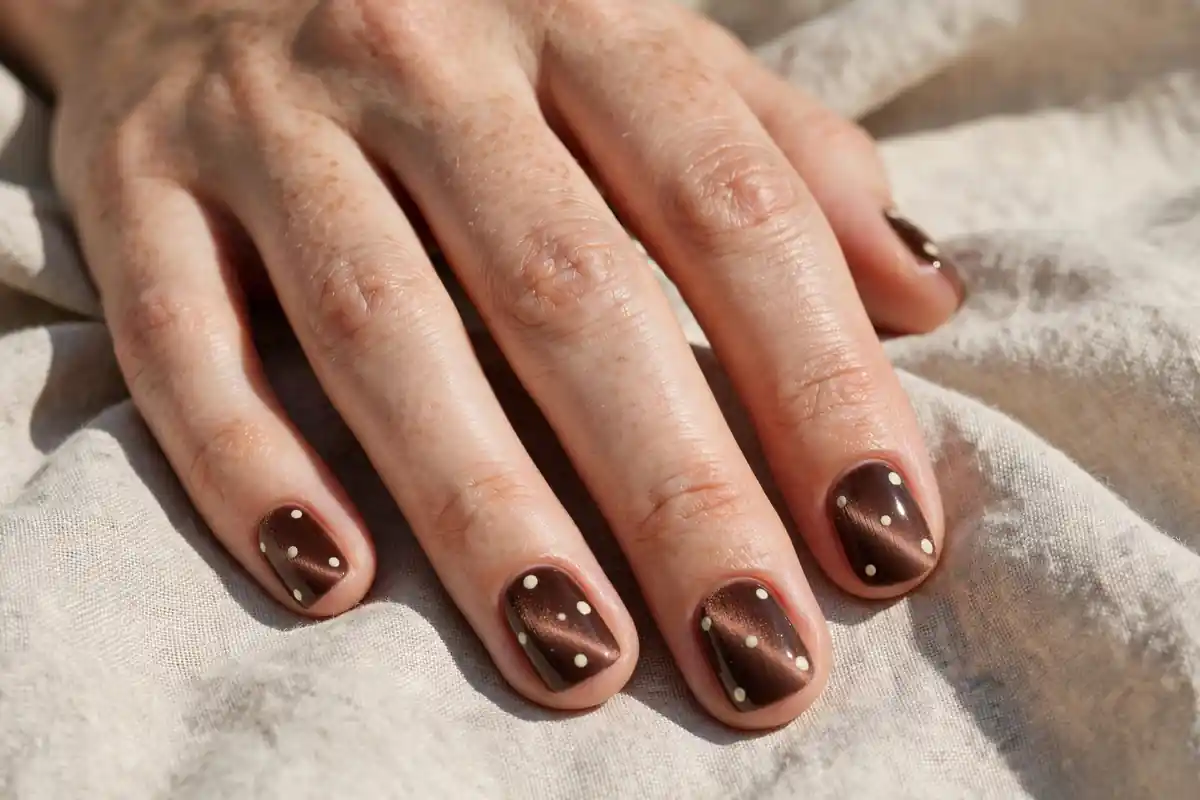
On short nails, choose the all-over velvet finish over a sharp line, and keep dots small and few — three to five per nail — so they read chic, not busy. Our Thanksgiving leaf nail designs round-up has more short-nail fall inspiration.
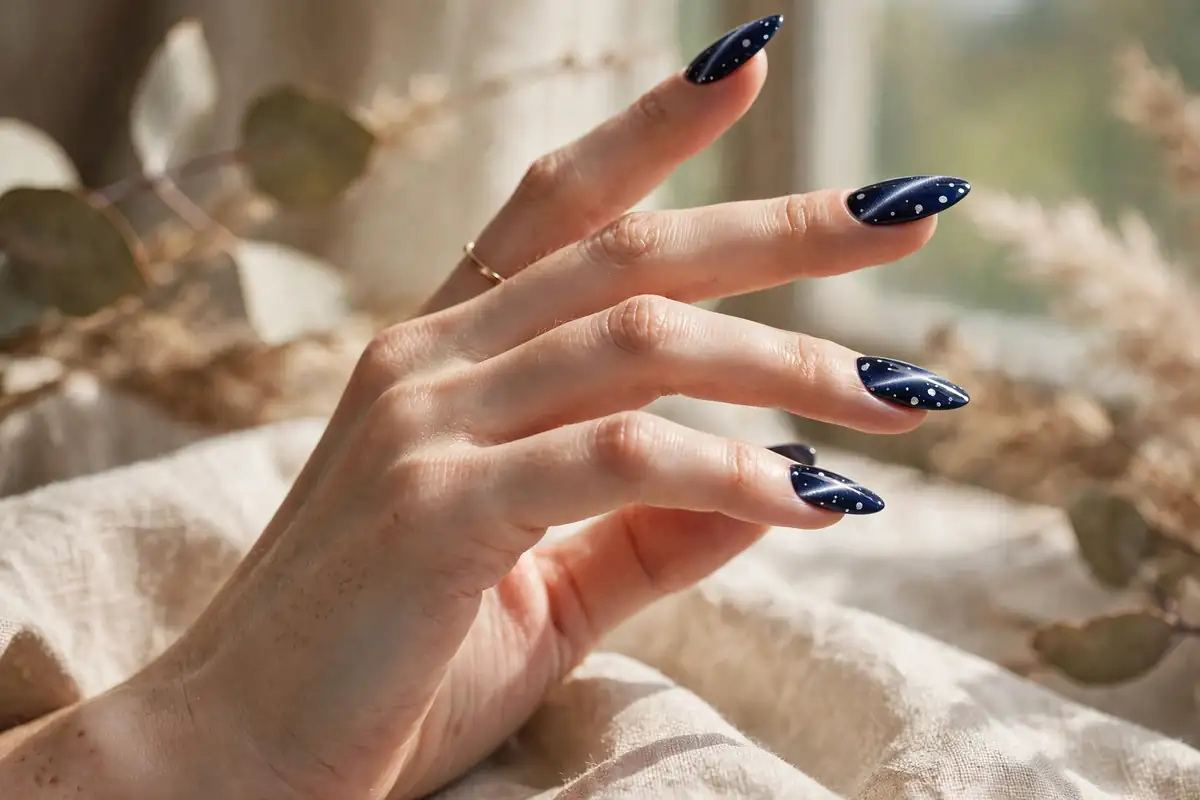
On almond nails, the classic centred line follows the nail’s point and lengthens fingers; medium dots in a loose diagonal scatter flatter best. Coffin and stiletto shapes carry the biggest dots and boldest contrasts — and our Thanksgiving glitter nails guide layers beautifully over a cat eye base.
How to Make the Velvet Shine Last 2 Weeks
A magnetic manicure should give you two full weeks of glow. These habits make the difference:
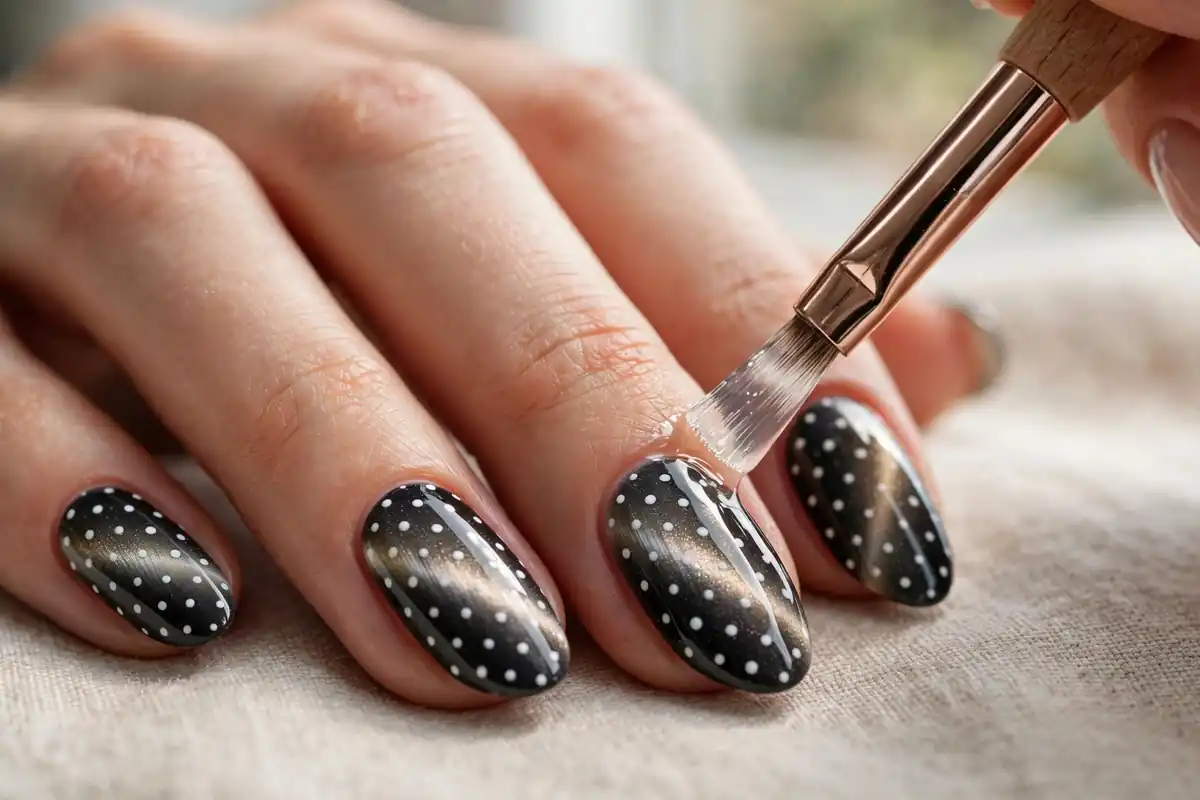
- Cap the free edge with every layer, sealing the tip against wear.
- Keep layers thin — thick gel is the top cause of peeling and blurred patterns.
- Re-gloss on day 4 or 5: a fresh top coat revives the glass and protects the dots.
- Wear gloves for washing up and cleaning — hot water and detergents dull shine fastest.
- Use cuticle oil daily — neat skin makes the whole manicure look fresher.
- Never peel. Soak off with acetone wraps; peeling tears nail layers and ruins your next base.
Mistakes That Kill the Cat Eye Effect
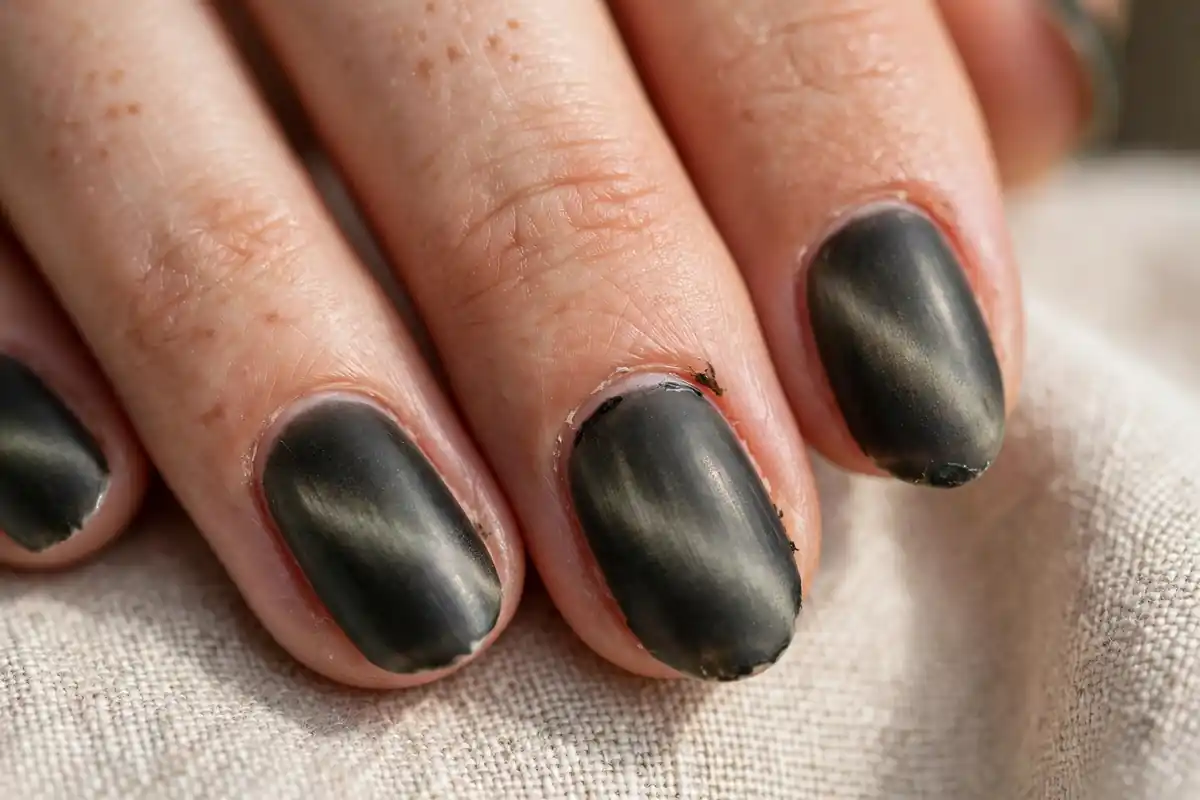
- Curing too late. Particles drift the second the magnet leaves — cure immediately after shaping each nail.
- Magnet touching the gel. It drags and ruins the surface. Hover 2–3 mm above, always.
- Working all five nails at once. The first pattern fades before the last is done: one nail, magnet, cure, next.
- Overloaded dots. Too much polish makes blobs, not dots — dip lightly, test on foil first.
- Skipping the top coat. Dots sit rough and shine looks flat without that glass layer.
- A base that’s too pale. The effect needs depth; pale shades give a whisper, not the velvet band.
FAQs
Can I do polka dot cat eye nails without a UV lamp?
The classic effect needs gel, which only hardens under a lamp. Air-dry magnetics exist, but the pattern blurs as they dry — a small LED lamp is the reliable option.
Why did my cat eye line disappear?
Usually the magnet was too far away, or curing came too late. Redo the nail: fresh coat, magnet close for 5–10 seconds, straight under the lamp.
Do the polka dots go under or over the top coat?
Over the cured base, under the final top coat — sealed in, perfectly smooth, and lasting as long as the base.
Are polka dot cat eye nails suitable for work?
Yes — pick a tonal pairing (chocolate with cream, plum with rose gold), keep dots small, and the shine reads polished, flashing only in the light.
How do I remove them?
File the top coat, wrap nails in acetone-soaked cotton and foil for 10–15 minutes, then slide the gel off with an orange stick — never force or peel.
Polka dot cat eye nails are the best of both worlds: velvet drama, kept playful by the dots. Start with burgundy and gold, master the hover — by Halloween, the hardest choice is which pairing comes next.

Alexander Smith is an accomplished blogger with years of experience in crafting engaging and insightful content. Known for his expertise and passion for storytelling, Alexander brings a unique perspective to Fascinate Names, captivating readers with his thoughtful analysis and fresh ideas. His extensive background in digital media and writing makes him a valuable voice in the blogging community.